How to plan your first RV trip (quickstart)
This quickstart takes you from signing up to a complete, saved itinerary in about five minutes. If you'd rather read about each piece in depth, start with What RV Roost is and how it works.
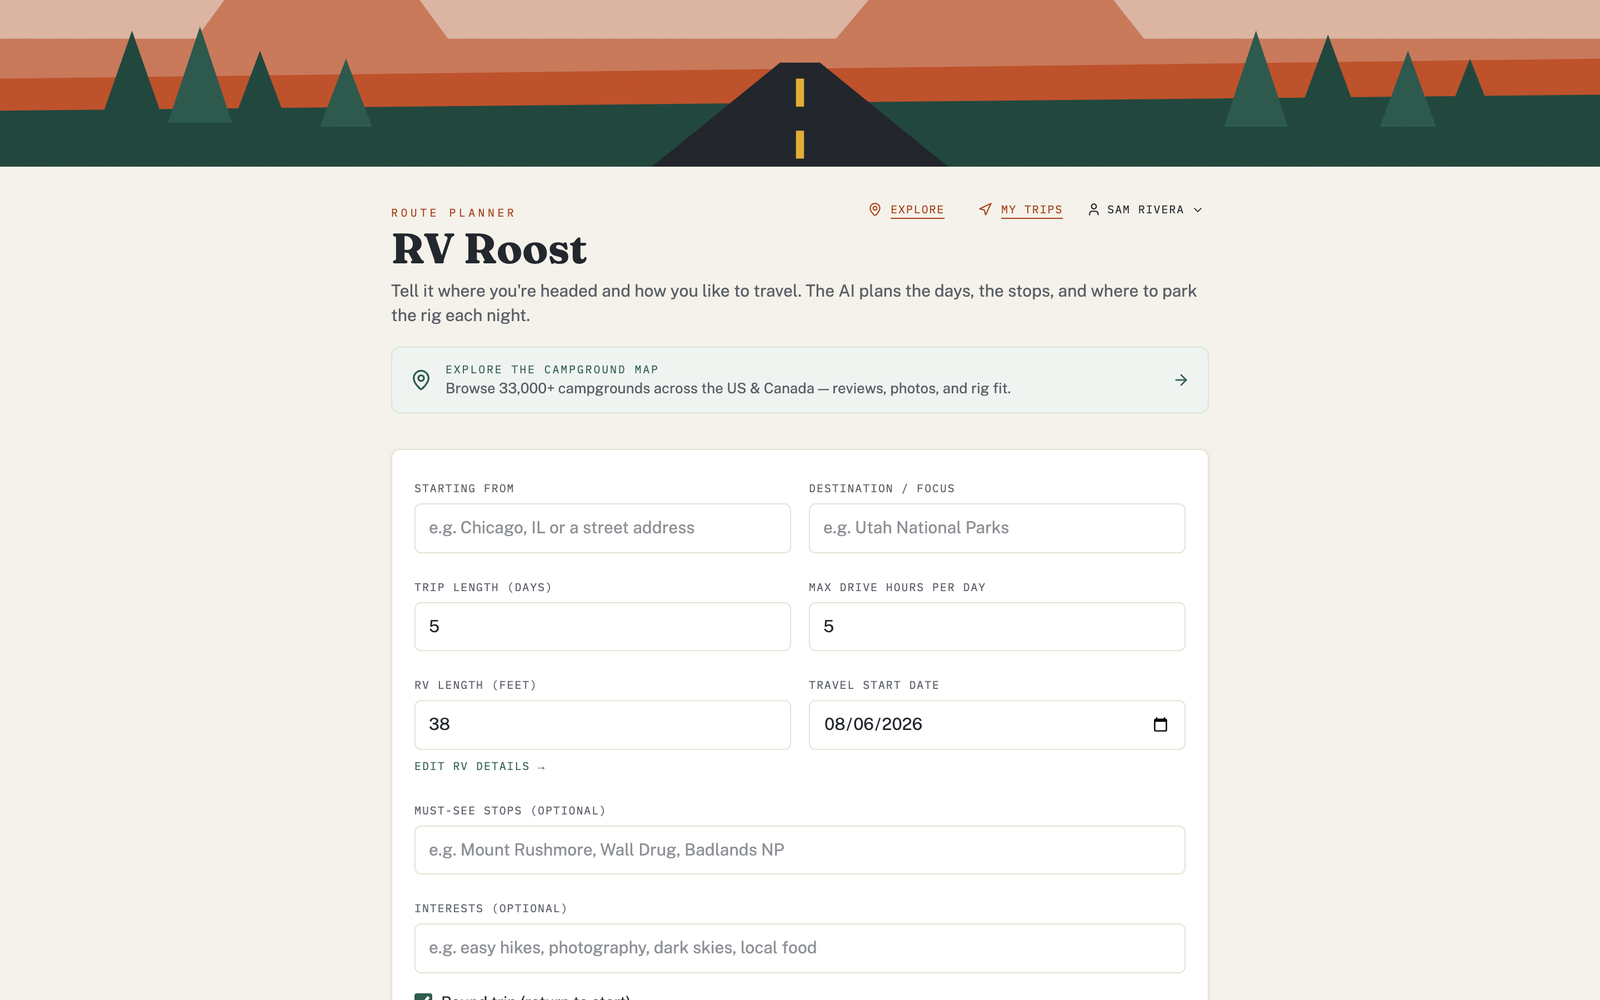
Step 1: Create your account
- Go to the RV Roost home page and choose Start free — no card (or Sign in if you already have an account).
- Sign up with your email and a password, or continue with Google or Apple.
- Verify your email if prompted.
The free plan needs no credit card. See Free vs Pro plans for what's included.
Step 2: Enter your rig
Open the account menu and choose My RV, then fill in your rig's length, height, and weight, plus a few preferences. This is what makes routes and campground picks fit your RV — see Set up your RV profile for the details. You can skip this and come back, but the results are much better with it.
Step 3: Tell the planner where you're going
On the planner, enter:
- Start — where the trip begins.
- Destination — where you're headed.
- Days — how long the trip is.
- Daily drive time — how many hours you want behind the wheel on a typical day.
Then choose Plan my trip. The AI builds a day-by-day itinerary: each driving leg, an overnight campground that fits your rig, suggested stops, and route notes.
Step 4: Review and adjust
Look over the day cards. Each stop shows the drive distance and time, the campground pick with its Match Score, and nearby attractions. Don't like a pick? You can swap in a different campground, add attractions, or reshape the days.
Step 5: Save your trip
Choose Save, give the trip a name, and it's stored to your account. From there you can reopen it, share it, or export it.
On the free plan? You can save one trip of up to three nights. Longer trips, more trips, exports, and sharing are part of a paid plan — see Free vs Pro plans.